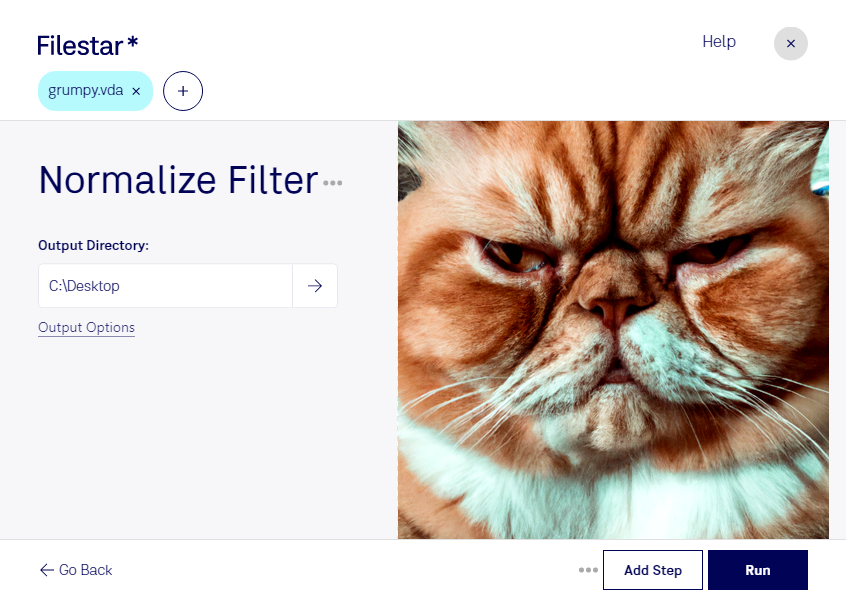
Download and install the latest version of Filestar.
Right click on one or more Vda file(s) on your desktop and select Convert with Filestar.
Type normalize filter in the search box.
Press Run.
Or let an AI agent do it: filestarcli -i photo.vda -c "normalize filter" (how).
Let your AI agent normalize VDA filter
Claude Code, Codex, Cursor and other agents can do this on your computer with Filestar. Your files stay on your machine.
Install Filestar and add it to your agents:
npm install -g filestar
filestarcli agent install
Then ask your agent:
“Use Filestar to normalize VDA filter in my Downloads folder”
Or run it yourself:
filestarcli -i photo.vda -c "normalize filter"
Runs on your computer, so your files stay on it. Works on Windows, macOS and Linux. 50 free conversions with the npm install, no account needed.
Can my AI agent normalize VDA filter?
Yes. Install the Filestar CLI with npm install -g filestar and your agent can run filestarcli -i photo.vda -c "normalize filter" on your computer, so your files stay on it.
The VDA file format, short for Targa Bitmap Image File, is a variant of the TGA file format (Truevision Advanced Raster Graphics Adapter) used for storing digital images. Developed by Truevision Inc., VDA files are raster graphics files that support various color depths, ranging from 1 to 32 bits per pixel, which includes support for alpha channels and compression. This format is designed to be highly flexible and is capable of storing high-quality images used in video editing and animations.