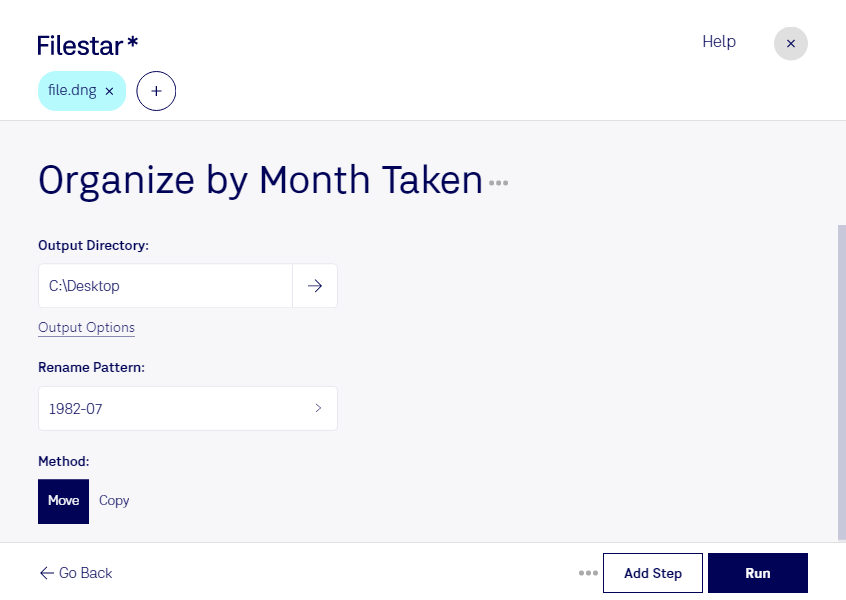
Organize dng by month taken

  1. Download and install the latest version of Filestar.

  2. Right click on one or more Dng file(s) on your desktop and select Convert with Filestar.

  3. Type organize by month taken in the search box.

  4. Press Run.

Or let an AI agent do it: filestarcli -i file.dng -c "organize by month taken" (how).

organize dng by month taken

Let your AI agent organize DNG by month taken

Claude Code, Codex, Cursor and other agents can do this on your computer with Filestar. Your files stay on your machine.

Install Filestar and add it to your agents:

npm install -g filestar
filestarcli agent install

Then ask your agent:

“Use Filestar to organize DNG by month taken in my Downloads folder”

Or run it yourself:

filestarcli -i file.dng -c "organize by month taken"

Runs on your computer, so your files stay on it. Works on Windows, macOS and Linux. 50 free conversions with the npm install, no account needed.

Can my AI agent organize DNG by month taken?

Yes. Install the Filestar CLI with npm install -g filestar and your agent can run filestarcli -i file.dng -c "organize by month taken" on your computer, so your files stay on it.

Using Filestar With AI Agents · Download SKILL.md

What is .dng?

Extension
.dng
Format
Binary
Category
Camera
Developer
Adobe Systems
Description
Universal RAW image format for saving digital photos in an uncompressed format; developed by Adobe Systems as a RAW image archival format and is supported by many image viewing and photo editing programs.
MIME Type
image/x-adobe-dng

Organize Dng By Month Taken Today

Get started within minutes