How to Convert RAW Files
Professional digital photographers understand the importance of having eye-catching portfolios if you want to land a client. The big question is, “What image formats will help you display the best shots?”
As a photographer, you are bound to come across the RAW vs. JPEG debate. You’ll need to decide whether you want to save your photos as RAW or in JPEG format. Your choice will determine the processing options accessible to you.
But let’s start with the basics.
What is a RAW file?
This is an image captured and processed directly from the camera’s sensor. No compression has been used on them. It’s extremely high-quality, brings out more shades of color, better representation of contrast, white balance, and exposure. There is no degradation of the image. Basically, you’ve got all information captured by the camera giving you a high-quality shot.
It’s important to note that you have process it on a computer before you can display it as an image. The standard in-camera processing doesn’t take place if you chose to use RAW image files. The good thing is that it uses lossless compression so the image quality remains untouched during the processing.
We can use a cooking analogy to help you better understand. RAW image files have all the ingredients needed to make a delicious meal however you want to prepare it. On the other hand, image formats like JPEG are like an already cooked meal. There is little you can do to modify it.
Some of the most popular RAW image files include Hasselblad 3FR, Sony’s ARW, Canon CR2 & CR3, Kodak’s DCR, Nikon NEF, Panasonic RW2, Fuji’s RAF, and so many more.
Benefits of using a RAW image format
It allows you to capture 12-14 bits of detail on each pixel which in return allows for more flexibility during processing and editing your shots.
You get to set white balance or color space after taking your shots. You don’t have to waste so much time getting perfect images when shooting.
You get to leverage 16-bit processing applications like Photoshop/Lightroom when you have RAW images.
Noise reduction is also more effectively applied on a RAW file than when using in-built camera algorithms.
The only disadvantage that comes with RAW file formats is their size. Thanks to the amount of information they hold, they occupy more space so you can only save a few in your memory card. If you don’t want to keep swapping your memory card, then RAW images may not be an option. More so if you are shooting at a busy or long event and you’re on a tight budget. Buying memory cards can eat into your profits. Additionally, it’s almost impossible to share or upload the bulky RAW image files on the go.
But RAW images assure you of more creative and processing flexibility. You get to be in the driver's seat of how your images will look like.
Once the RAW images have been processed to the photographer’s appeal, they need to convert them to smaller and more portable sized image files.
In walks Filestar.
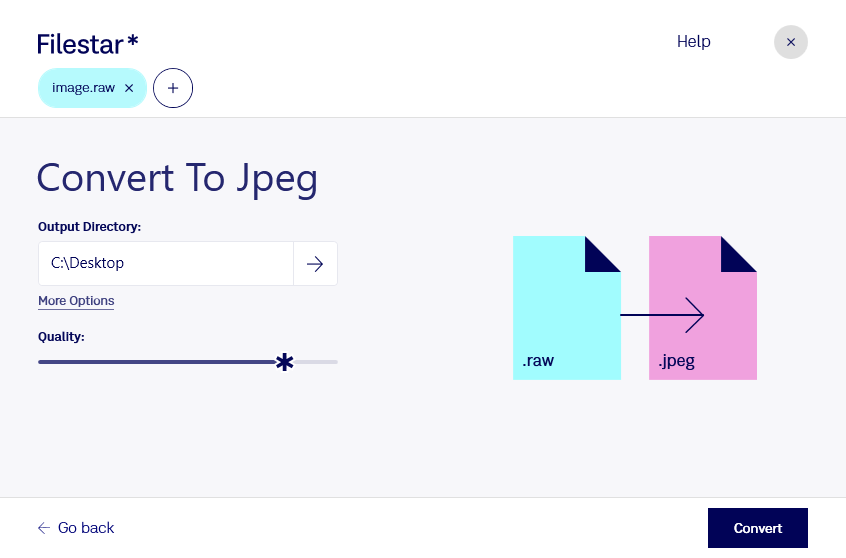
You can convert more than 24 RAW image formats into any portable and smaller image file. From JPEG to GIF, PNG, TIFF, among others. Below is an example of how to go about it.
Converting RAW to JPEG
1. Download and install the latest version of Filestar.
2. Right-click on one or more Raw file(s) on your desktop and select Convert with Filestar.
3. Type convert to jpeg in the search box.
4. Press Convert.

And Voila!
Follow that example to convert all your RAW image files.
